Summit
Menu
LARGE AREA, HIGH-ACCURACY DIMENSIONAL METROLOGY SYSTEMS.
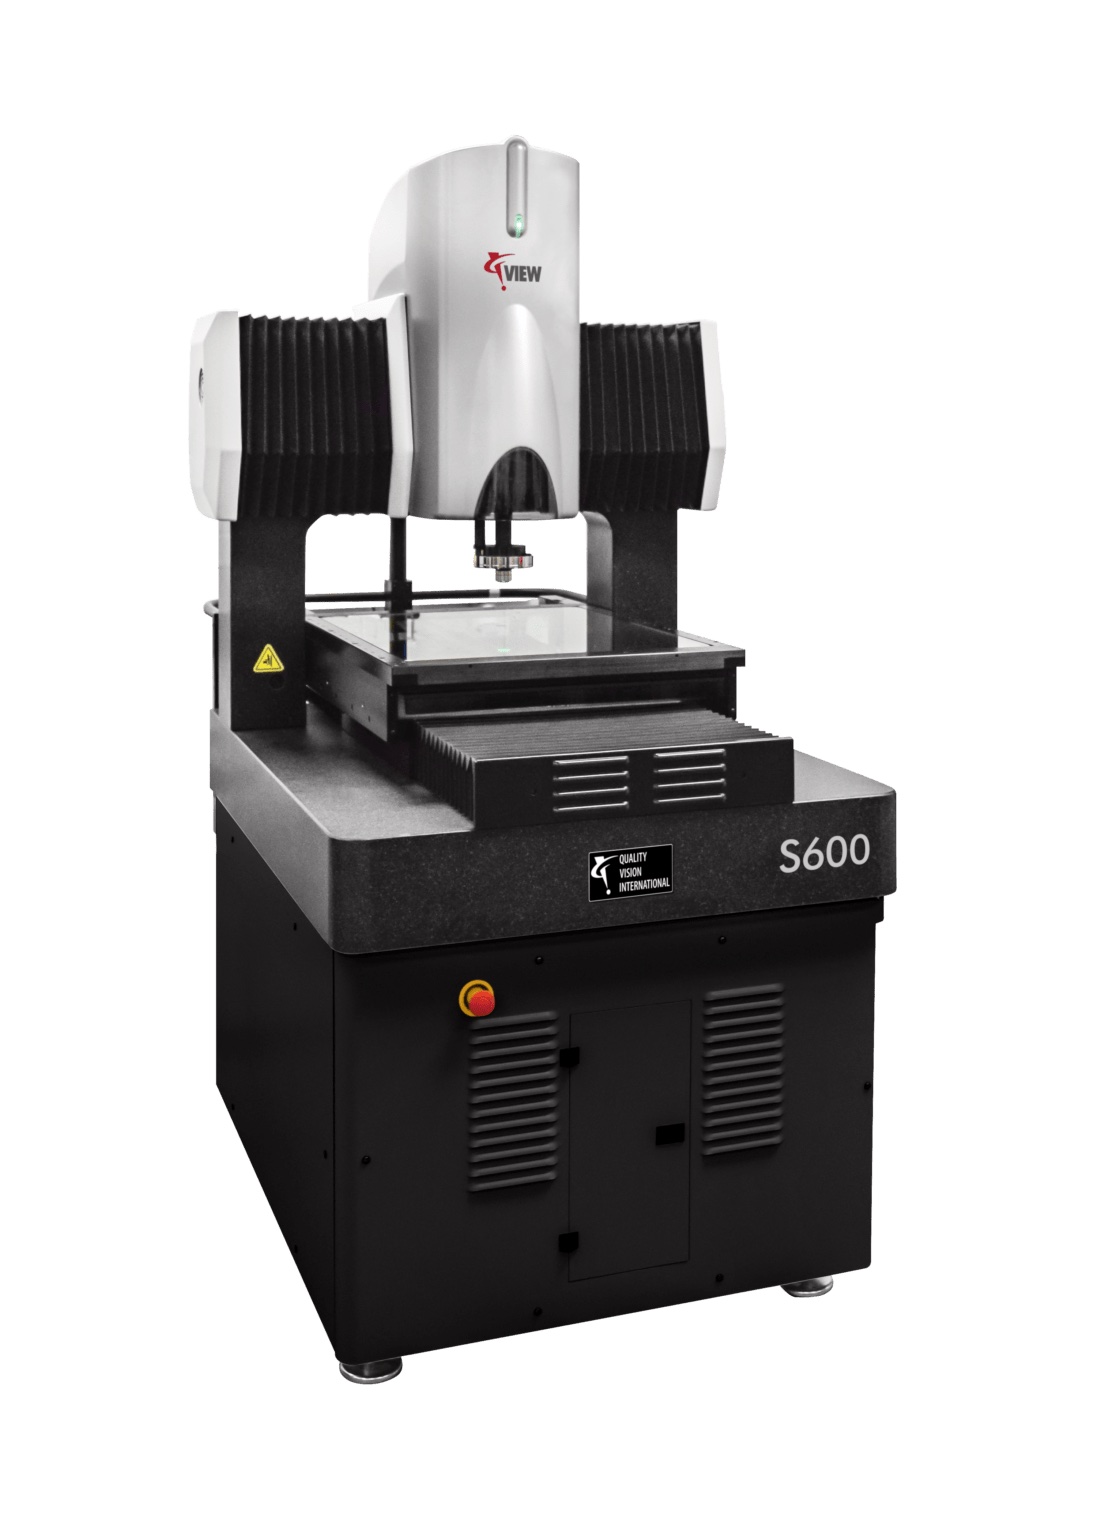
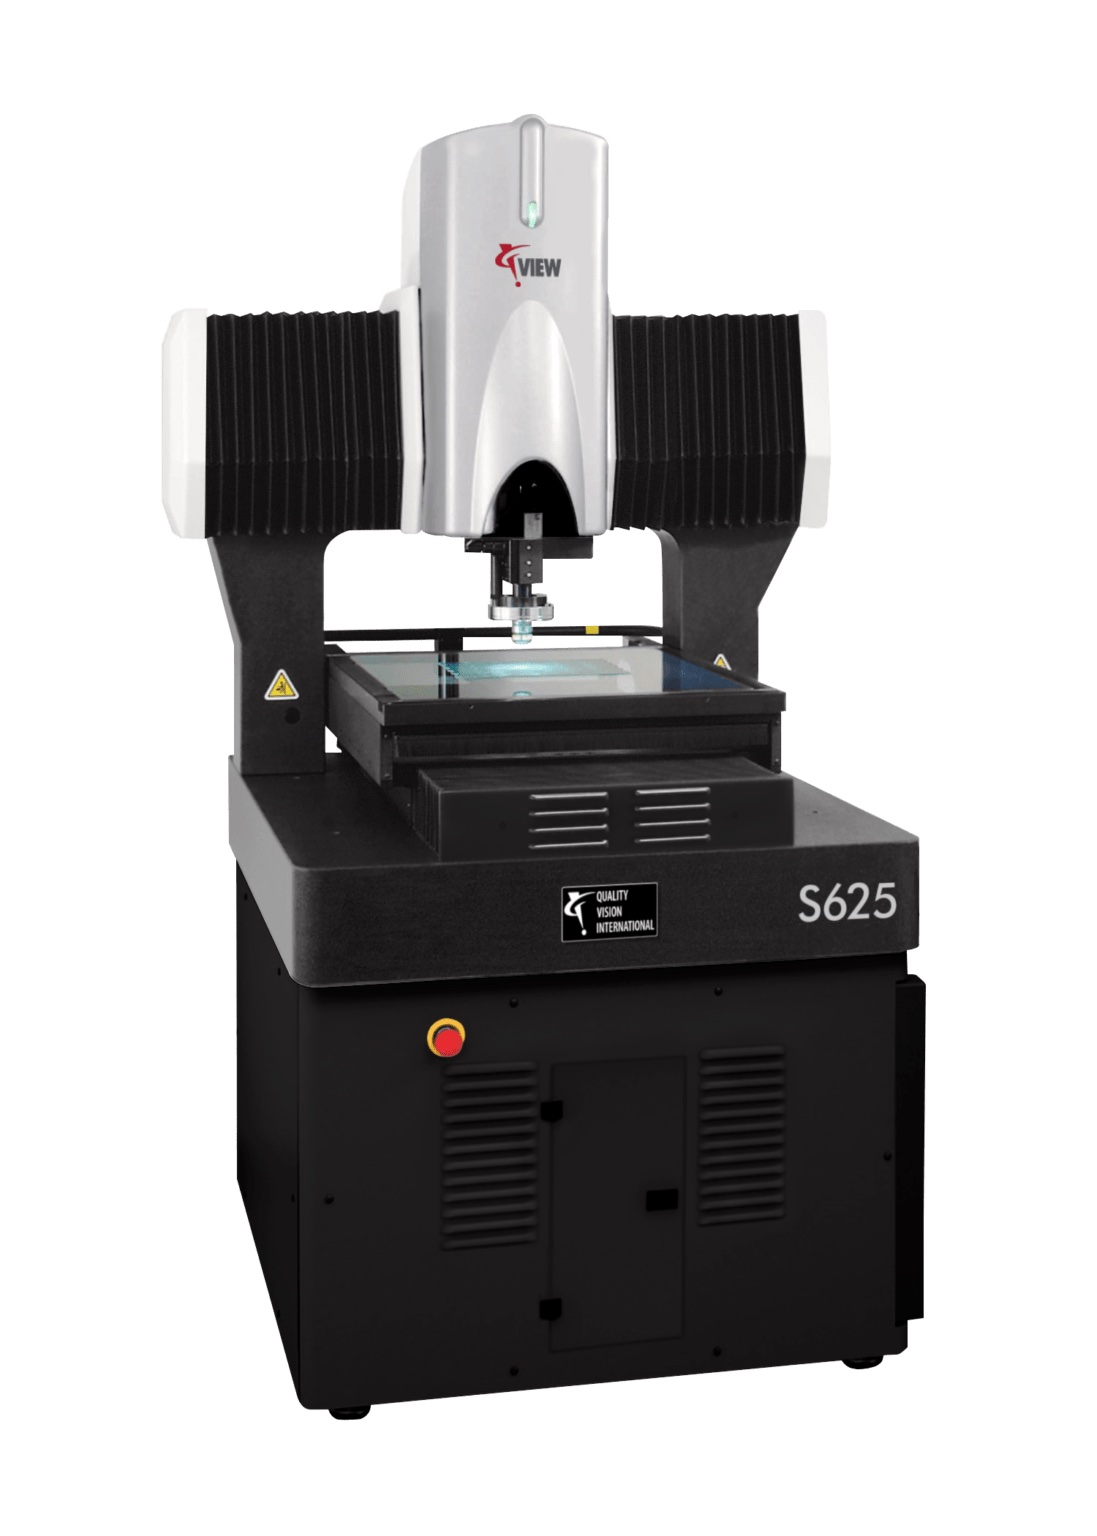
The VIEW Summit systems are designed for components requiring a large work envelope and high accuracy. Based on the same core technologies of optics, high speed linear motors, and high resolution scales used in the VIEW Pinnacle, the Summit features a fixed bridge design. Separate X and Y axis motion systems ensure that neither influences the mechanical integrity of the other, while also enabling easy loading and unloading of large parts.
Available in three ranges of travel, the VIEW Summit is ideally suited for measurement of large footprint parts, such as PCBs, stencils, flat panel displays, etching sheets and mark patterns, or nested groups of smaller parts. The Summit provides very high accuracy and high speed for shop floor process monitoring and quality assurance applications.


Standard
Optional
XYZ Travel
Model 600 / 450x600x150 mm
Model 625 / 615x610x150 mm
Model 800 / 800x820x150 mm
Load Capacity
Model 600 / 50 kg
Model 625 / 50 kg
Model 800 / 75 kg
Imaging Options
Single magnification, fixed lens optics with VIEW 1X back tube and VIEW 2.5X objective lens
Dual magnification fixed lens optics with VIEW 2.5X objective lens. Optional Objective Lenses: 0.8X, 1 X, 5.0X, 10X, and 25X
Metrology Camera
Standard: 2.0 megapixel (1628 x 1236), digital, monochrome
Color and other camera configurations are optionally available
Illumination
Standard: Programmable LED illumination system for coaxial through-the-lens surface light, below-the-stage backlight, and multicolor ring light with motorized incidence angle control
Grid Autofocus System
Sensor Options
Through-the-lens (TTL) laser
Rainbow Probe ™ off-axis white light range sensor
Measurement Modes
High Speed Move and Measure (MAM)
Continuous Image Capture (CIC)
Features
The Summit systems are ideal for measurement of large format parts requiring high accuracy, such as solder paste stencils and screens, artwork, panelized printed circuit boards, flex circuits, and micro-etched parts.
Summit models can be equipped with an optional through-the-lens or offset mounted laser for added flexibility in Z-axis measurements. Summit models can also utilize the optional SpectraProbe™ offering sub-micron Z-axis measurement resolution.
Summit models operate with one or more of VIEW’s standard metrology software packages:
- VIEW Metrology Software (VMS™)
- Elements® Electronic Measurements Software
Evolving the Science of Precision
V Eye Precision Limited.
19/51 Moo 3, Phaholyothin Road. Klong-nueng, Klongluang, Pathumthani 12120 Thailand
Tel : 02-902-0593-4
